
With a watermark, FlowData overlays your logo on videos and images, for example in product videos for your shop. You upload the logo once and then refer to it in jobs or presets. There's no default logo, so you always decide which image is overlaid.
The right file
- Format: PNG with transparency
- Size: at most 2 MB (2048 KB) and 8,000 × 8,000 pixels
- Tip: a white logo on a transparent background looks subtle and readable on most videos.
Uploading a watermark
- On the left under Media processing, open Watermarks.
- Click Upload watermark at the top right.
- Choose a Key, for example
logo_white. It can be 1 to 64 characters using lowercase letters, digits, underscore and hyphen. - Drag the PNG file into the Drop a PNG here or browse field, or click it to choose a file.
- Click Upload.
The logo then appears in the list with Preview, Key, dimensions, file size and the date of the last change. The preview sits on a grey background so that light logos are visible too.
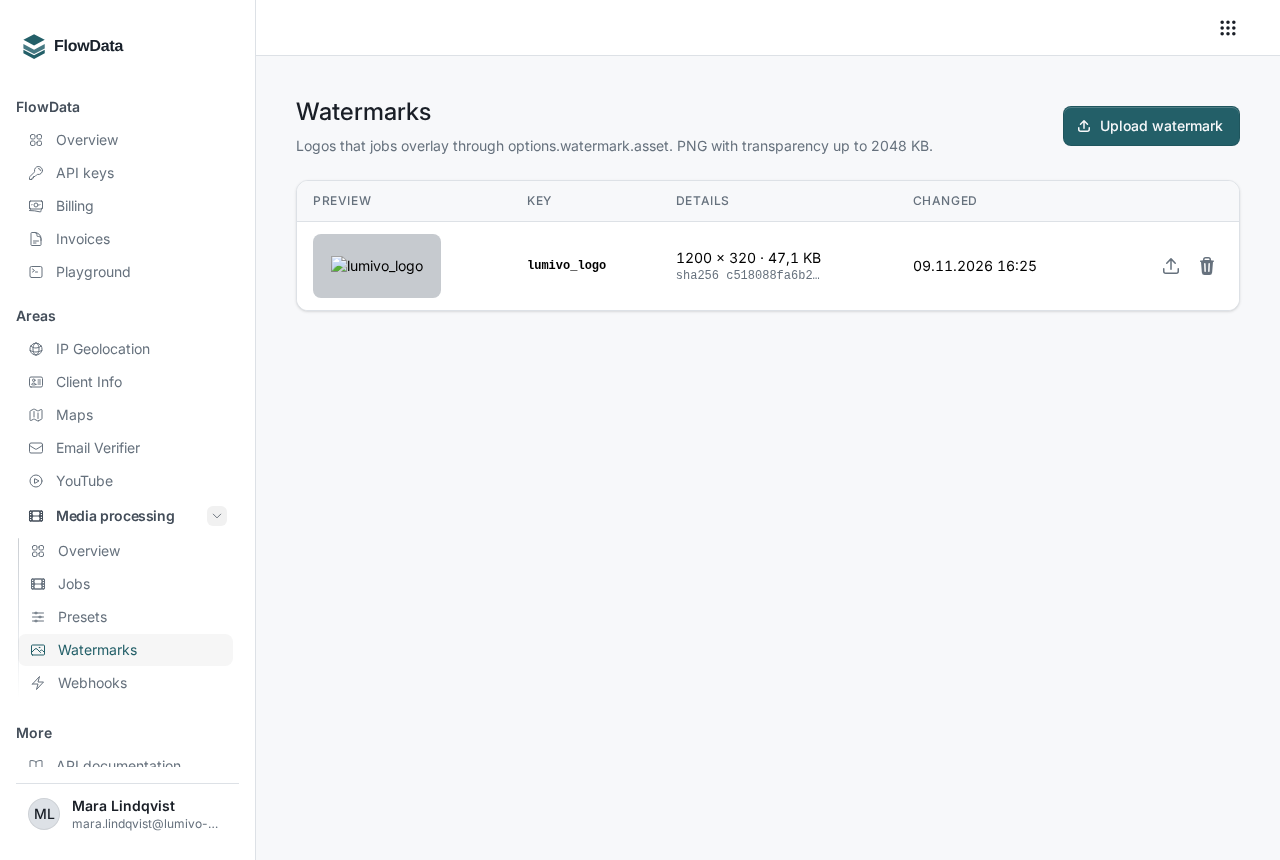
You can also upload through the API with PUT https://api.flowdata.one/v1/media/assets/{key}, either as a raw PNG with Content-Type: image/png or as multipart with the field file:
curl -X PUT "https://api.flowdata.one/v1/media/assets/logo_white" \
  -H "Authorization: Bearer fd_YOUR_KEY" \
  -H "Content-Type: image/png" \
  --data-binary @logo.png
Using a watermark
Outputs with a watermark, such as watermarked in the pipelines ugc_video and ugc_image, always need an asset. You have two options:
- In a preset: choose the Asset under Watermark in the preset and set the size, opacity and position there. This is the most convenient way, see How do I create presets for media processing?.
- In the job: give the key under
options.watermark.asset:
"options": {
  "watermark": { "asset": "logo_white", "width_percent": 30, "opacity": 0.6, "position": "bottom_right" }
}
Use margin_x and margin_y to set the distance from the edge in pixels. position has nine possible values: center, top_center, bottom_center, top_left, top_right, bottom_left, bottom_right, center_left and center_right.
Uploading a new version
To replace a logo, click Upload new version in its row and choose the new file. The key stays the same, so you don't need to change your presets or integrations. Jobs already created keep using the old version. Only new jobs get the new logo.
Deleting a watermark
Delete removes a watermark. New jobs that use it are rejected afterwards, so check first whether a preset still refers to it. Running jobs keep their version.
If something goes wrong
- "The file must be a PNG with an alpha channel.": save the logo as a PNG with a transparent background. JPGs and PNGs without transparency are rejected.
- "The file may be at most 2048 KB.": reduce the logo. For a watermark, 1,000 to 1,500 pixels wide is usually enough. In this case the API answers with
413 input_too_large. - Job rejected with "Outputs with a watermark require options.watermark.asset.": the job asks for an output with a watermark but doesn't name an asset. Add it to the job or preset.
- Job rejected with "The watermark asset … does not exist.": the key is misspelled or the watermark has been deleted.